Hello!!!
Happy rainy hump day! I’m sitting here with my son, whose watching a Mickey Christmas movie and my little doggie on either side of me. I’ve been wanting to start this blog, actually I wanted my Halloween decor to be my first blog, but as a Mom or as anyone with a life for that matter, things don’t always go as planned. So here it is, how I maximized my tiny closet, doubled the storage space and got rid of a dresser in our room. Less is more! I always wondered exactly what that saying meant, but as I get older, I get it, in this case, the less stuff I have, the more time I have! Without babbling on too much more, lets get into this How to/DIY!
Our closet is 4ft wide and 3ft deep. It looks small from the outside, and isn’t like closets today that are wide instead of deep. (Side Note: Our home is a Cape Cod style home built in the 50’s, when closets weren’t a big deal like they are today in this world of consumerism.) Basically, I had the space, I just needed to find the best way to use it. So I went to my favorite design portal, Pinterest! I found the following inspiration images:


I liked how they had a shelving area along with a double hanging rod, they also utilized the side walls in these examples. Now, my design isn’t nearly as intense as these, I didn’t want to get into carpentry, I didn’t want to spend more than one weekend and I wanted to use things I already had around the house to keep it cost effective. So I did just that, here are the steps I took to complete the project:
- Make a plan, look up inspiration, draw everything out, pretend the stuff is in your closet to make sure there is room enough to move with the closet system installed. Here is a picture of my moch up closet drawing (don’t judge me, I’m no artist!)

- Remove everything from the closet, here is a before pic…one closet rod, one shelf, and a roll out basket with three drawers.

- Take all previous closet poles, hooks, shelving, etc. out of the closet, for this I used a drill, hammer, chisel and safety glasses.
- Scrape and sand rough spots, I used a painters tool (this one is my favorite, I use it for every project) and a sanding block.
- Patch holes you created (hehehe), I suggest a quick dry formula like this one, sparkle, it has a quick daytime, doesn’t require priming before painting and should work on drywall and plaster.

- Prime anything that hasn’t been painted previously or has been patched. I like this Zinger Primer , I only primed my wood trim, because it had never been painted.
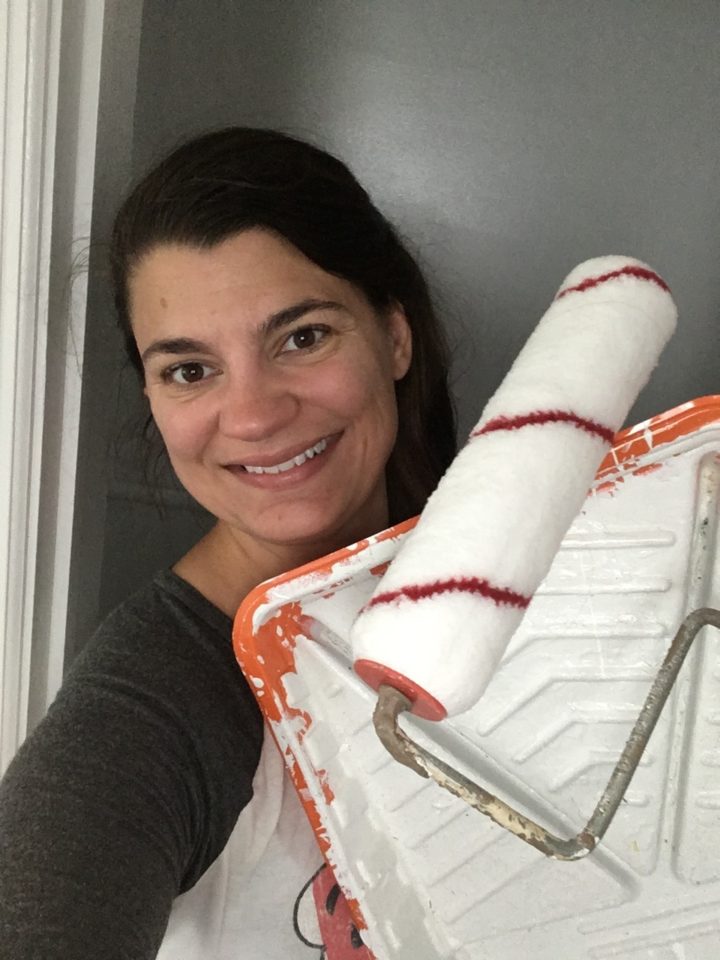
- Paint! I just painted the closet white, I used a pure white satin finish Behr paint. I like the Premium Plus type because I can paint everything in one coat, it’s thick which creates less drips and drops of paint and it already has primer in it. Here’s a photo of the painted closet, it’s amazing what a coat of paint can do.

- Attach wood supports to studs at the height of hanging poles. I had my husband hold a piece of clothing up and I measured to see how long it was, that is how we picked the height. I like to use deck screws to hang things that go into studs, basically, they have an asterisk/star head, which gives you more grip when drilling, I’m no expert so I will take all the grip I can get, also if you are lazy like me and don’t want to pre-drill holes, these screws make it easier, again, grip!!!
- Start installing your rods. I used these Everbilt rods, I like them because the hardware is already included, but anything will work!
- For closet systems/shelving, I really like using the ClosetMaid Shelf Tracks, I’ve linked the entire page, but I used the track itself, which is the long metal piece that hangs the height of your wall, the shelf brackets, and then wire shelving. I also used the little rubber pieces that go on the cut ends of the shelving. I used bolt cutters to cut the shelves, I found this to be the easiest method. There are a ton of different shelving options that are already in packets that include all the pieces you need.
- I also used a few hooks from IKEA and Five Below, a belt holder and some baskets from Lowe’s.
Here’s the final product, I literally have twice the amount of storage space, it is fantastic!!!

I hope you enjoyed this blog, if you upgrade your closet I would love to see it, please send me or tag me in a pic! Be sure to check out the vlog of the makeover! Thanks!!!
Pinterest closet inspiration links, 1, 2, 3.
